
Simple Harvest Tablescape
Hi Friend,
With Thanksgiving around the corner, I want to share with you a simple harvest tablescape that anyone can do.
Is it just me or does Thanksgiving get overshadowed by Christmas? It’s so tempting to pull out the twinkling lights and greenery, but the older I get the more Thanksgiving becomes my favorite holiday. I truly believe we need the time around Thanksgiving to be quiet, reflective, thankful, and spend time with family without the distractions of an early Christmas season.
Back to the simple tablescape…
The best part of this tablescape is you don’t need to run out to the store for new decorations. Raid your pantry and cupboards because you probably have most everything to put this together.
Before Making a Tablescape:
Before you jump in and get started, a couple of things to think about:
Height – You want your eyes to travel up off the table as you admire the tablescape, but be careful that it is not too tall or full. You want to be able to converse with everyone at the table without having to lean around the tablescape. Roughly 1-2 feet is ideal.
Mobility – Our family lives at the kitchen table. That’s where I work, our farm boys do school, we visit with friends and family. So it is important to us that the tablescape be easy to pick up and move. That’s why I have included a tray under the jars of wheat. I can quickly move the tablescape without having to worry about not being able to put it back perfectly.
Dining Room – Will you and your family have room to move at the table? While large tablescapes are gorgeous, I worry about my family not having room to put glasses, extra plates, and those odds and ends that find their way to a table during dinner. Especially with small children, you need room to move (and be able to quickly move things out of the way during spills).

How to Make a Simple Harvest Tablescape:
Start with a neutral table runner that contrasts with your table. I choose this white and blue one because it provides a nice contrast without competing with my wood table. Burlap contrasts nicely with white and solid colors. Flour sack towels also work. (Insider tip: your table runner doesn’t have to be flat. If the fabric will allow, my runner did not, gently bunch the runner in different sections to give it a lived in feel).
Add a tray. I chose a long, rectangular serving plate. A wood or galvanized metal tray would also be beautiful.
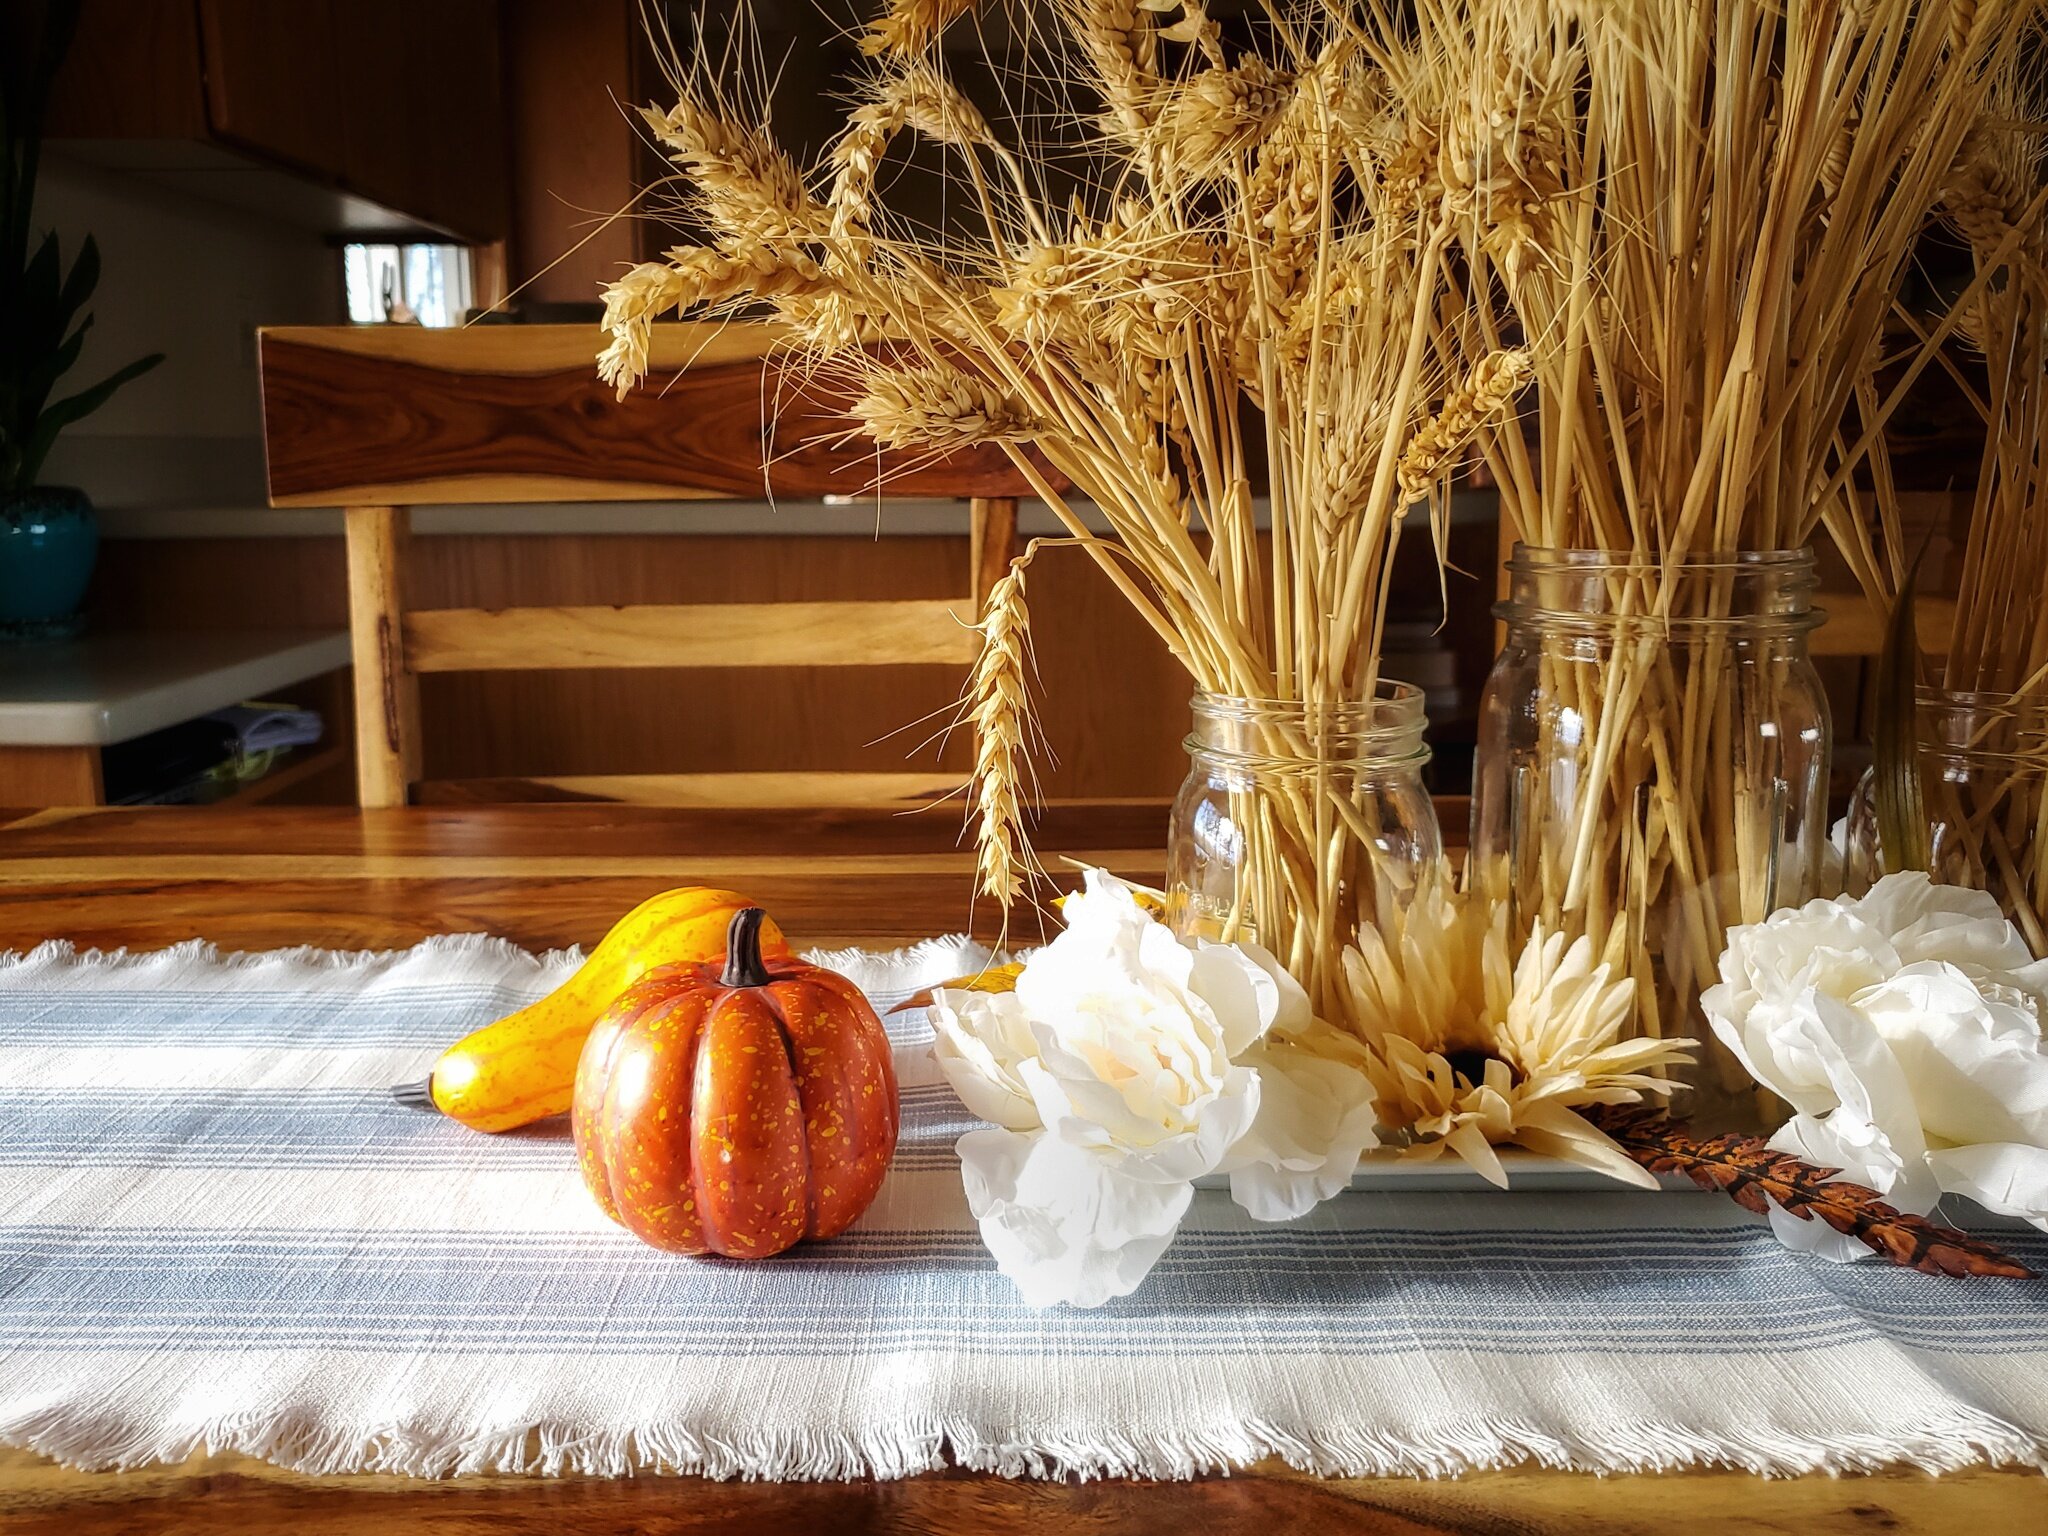
Add Height. I filled leftover mason jars with stalks of wheat I gathered from the edges of our field. If you don’t have wheat handy, check out Hobby Lobby’s floral section, or gather tall native grasses around where you live (you know… the tall ones with seeds). Cut the stalks to different heights so the three wheat-filled jars create a triangle. You don’t want them all the same height.
Add Fillers. Fill in between the jars with florals, leaves, squash, corn, etc. Have fun with this part and make it your own. When finished, you want about three different heights in your tablescape. Add a little asymmetry (see how my squash and leaves are asymmetric?), this adds interest without feeling chaotic.

Step 4 is add filler. I pulled these fake flowers and leaves off their stems for this DIY. After the holidays, I’ll put the stems back together for another project.